
How to Create a Facebook Group
In this post, I’ll show you how to create a Facebook Group.
Step 1: Login to your Facebook Account
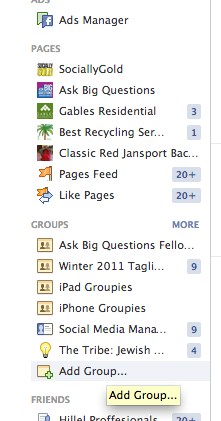
Step 2. While viewing your news feed, the bottom left of your screen will have a link to “Add Group.” Click Add Group
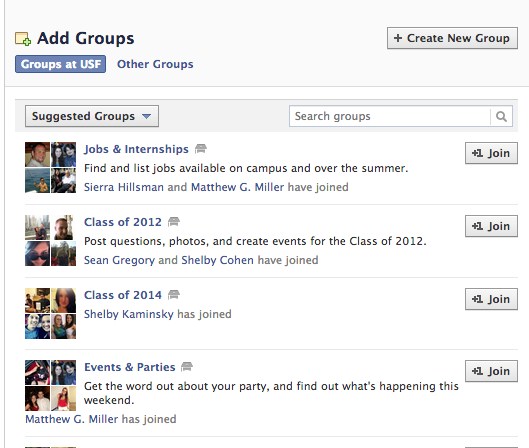
Step 3: You’ll see a list of suggested groups. Click “Add Group” at the top right to start the creation process.
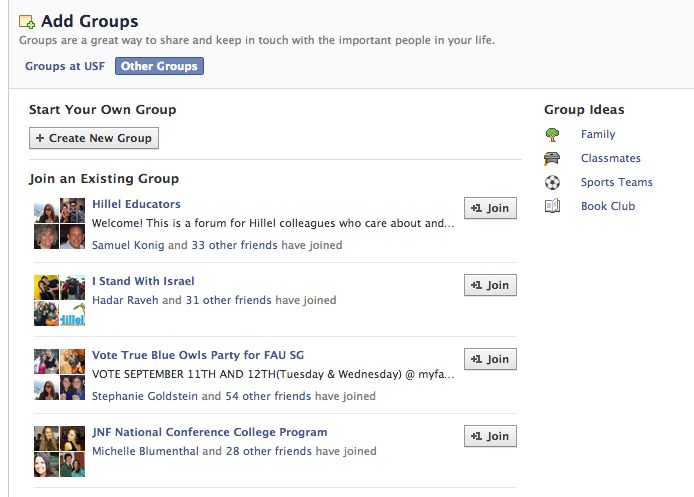
Step 4: Since I am in the USF (University of S. Florida) network, Facebook is giving me the option of creating a group inside or outside that network. Decide which network to use, if you have that option and then click “create new group”
Step 5: A window will pop up asking you to name the group and pick members to invite. Once you do those two things, your Facebook Group will be created. You can now add more people by going through the “Suggested Members” on the right side or you can add people directly by typing in their tame in the “Add people to group” section right above the suggested members section.
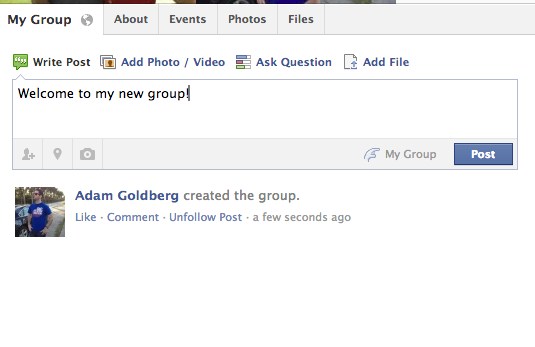
Step 6: Now that your group is created. You can start posting and your members will see it. That was easy right?
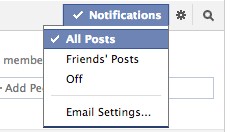
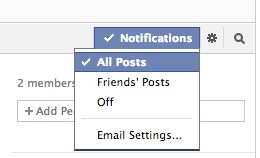
Step 7: Edit your individual notification settings. These settings are on a user by user basis, not settings for the group as a whole.
Have any questions about creating a Facebook Group? Let us know in the comments!
Now that you have your Facebook group created. Check out my post explaining why you should use a Facebook group.