How to Create a Facebook Ad For Your Website
In this article, I’ll show you how to create a Facebook ad that points to your website. I’ll also answer some questions you may have about Facebook ads along the way such as…
. How much should I bid per click for my Facebook ad?
. Should I bid for clicks or impressions on Facebook?
. How do I create a targeted audience on Facebook?
. How do I measure the success of my Facebook ad?
Why should I purchase Facebook ads?
Facebook doesn’t show every fan of your page every post that you compose. It is necessary to advertise on Facebook to get in front of more people. You can also target specific audiences, even users who have not liked your Facebook Page.
Let’s get started…
Step 1.
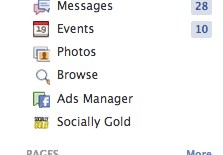
Login to your account and while viewing your newsfeed, click Ads Manager (or Create ad if this is your first one) on the left navigation bar.
Step 2.
After clicking ads manager, click on “Create an Ad” at the top right.

Step 3.
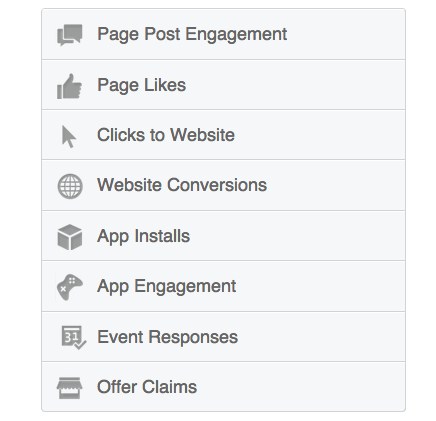
Determine what type of ad you would like to run. This tutorial will cover how to create an ad that points to a website.
Step 4.
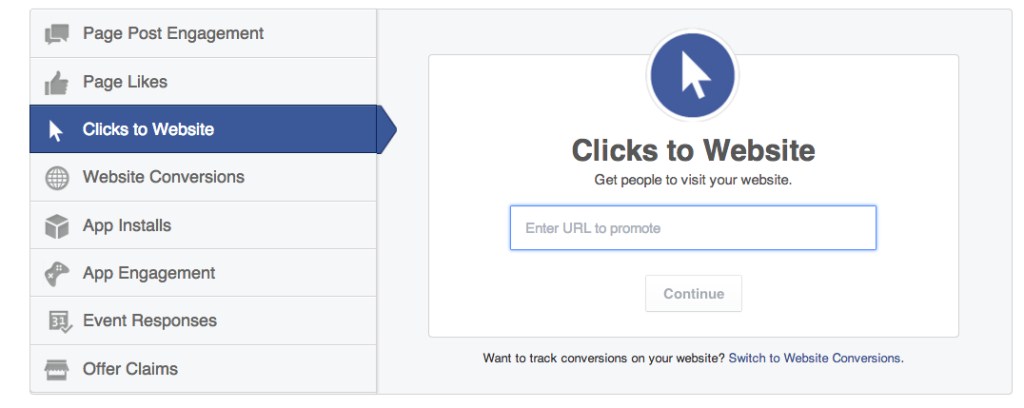
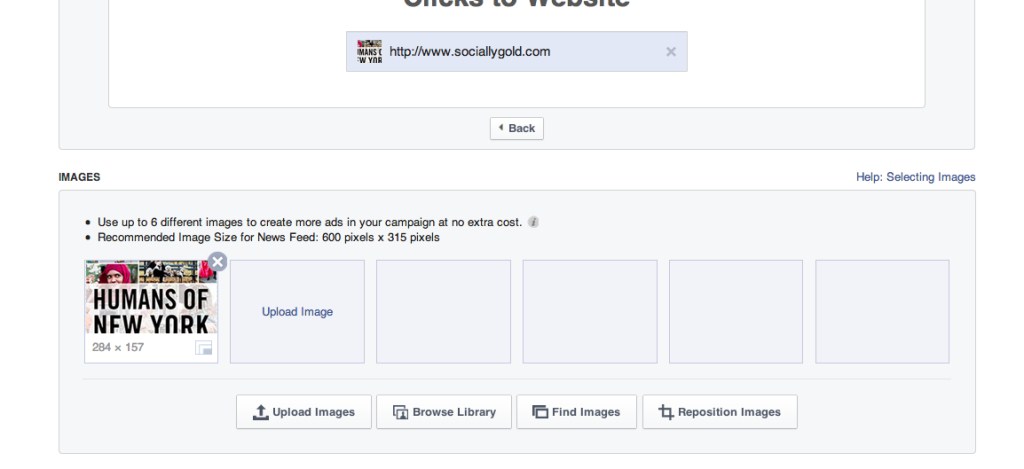
Click on “Clicks to Website” and type in the website you would like your ad to point to.
Step 5.
After you type in the website for your Facebook ad and hit continue, the next screen will automatically load. Now you’ll want to upload a(n) image(s) for your Facebook ad. The ideal size for a Facebook ad image is 600×315. If you need help creating images for your Facebook ad contact me to inquire about graphic design services.
Step 6.
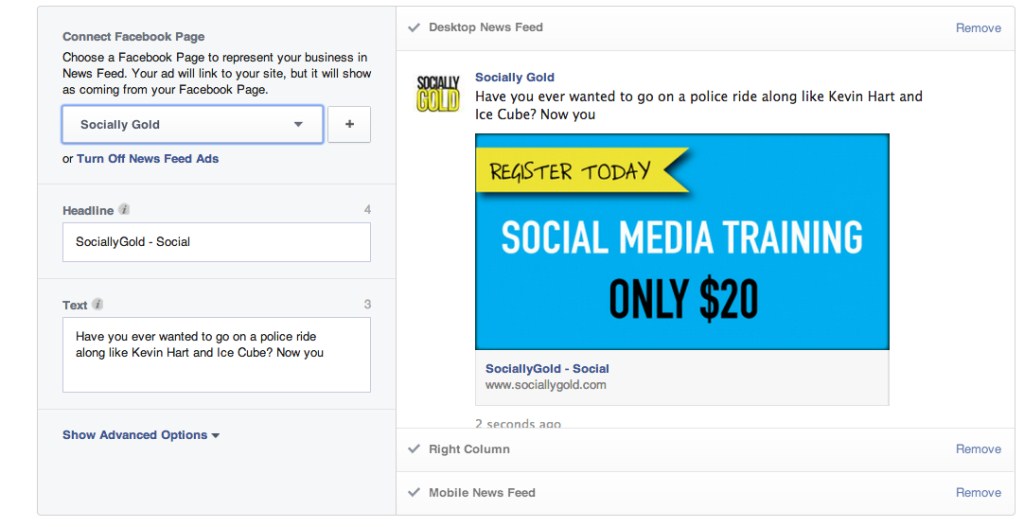
Choose a Facebook Page to be associated with your ad from the drop down menu. If you want to create a News Feed ad. You can also hit the “+” button to create a new Facebook Page if necessary. If you only want to run right sidebar ads, you don’t need to associate it with a Facebook Page. Hit “Turn off News Feed Ads” to bypass this setting.
The ads manager will auto-generate text from the website you selected. If you are unhappy with what was generated, you’ll need to change it.
If you would like text to appear underneath the link, click “Show Advanced Options”.
Step 7. Select your audience
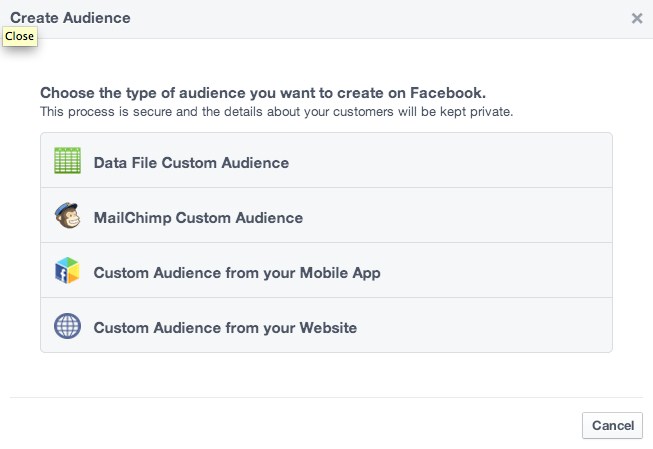
Facebook gives you the opportunity to create a highly customized audience. If you have a data file or a MailChimp account, you can create a highly targeted custom audience. If you would like me to cover these custom methods in detail, let me know in the comments.
Step 8.
Instead of creating a highly customized audience, you can use the built in Facebook method of defining your audience.
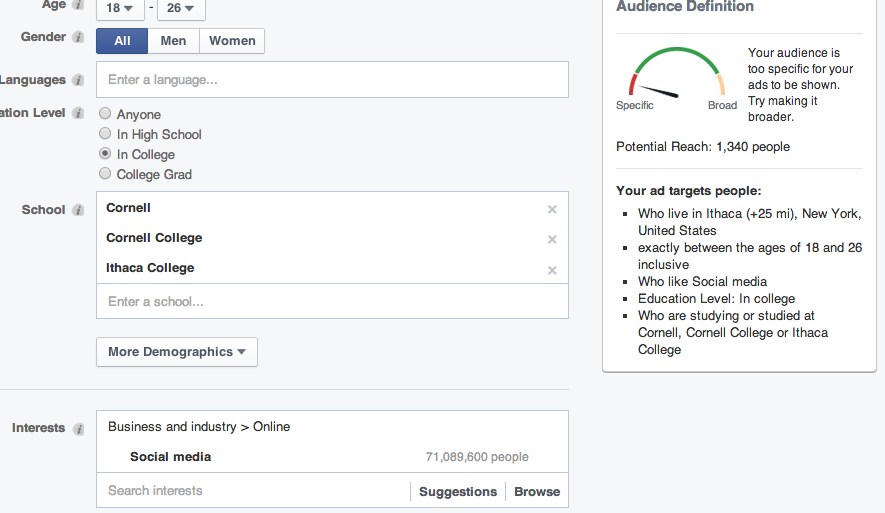
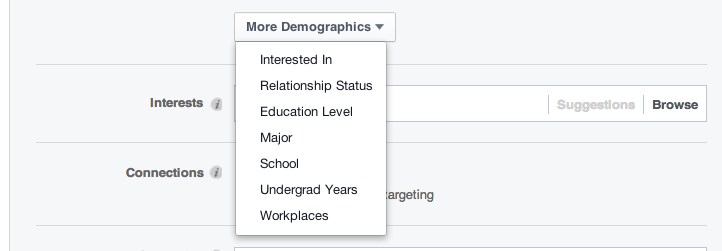
You can target your ads further by adding demographics.
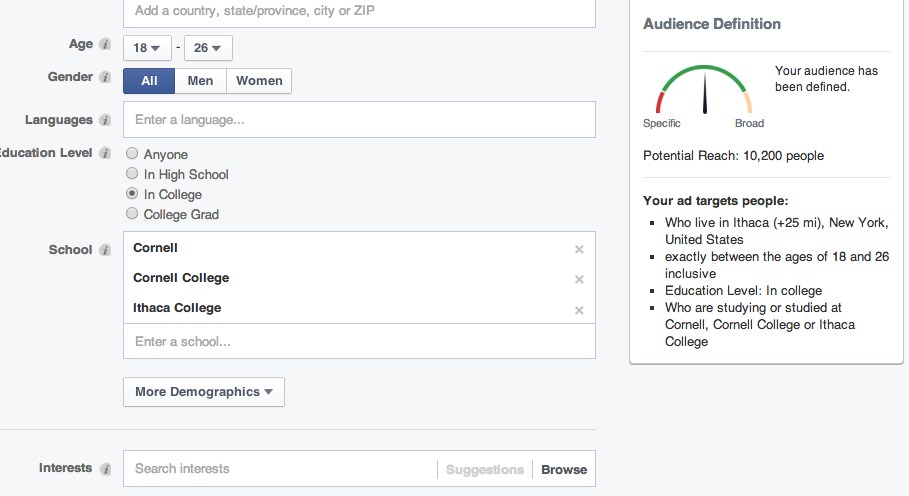
Let’s use Cornell as a target audience and individuals between the ages of 18-26 in college. I also want to target those who have social media listed in their profile as an interest. If you pick multiple interests, your targeted user only has to be interested in one of those items to be served your ad. Above the age selector, you can target by location. This ad is targeted to those who live in Ithaca, NY.
Step 9.
You can also target fans of your Facebook Page, their friends or exclude them them as well. In this step, you can only target/exclude pages you manage.

Step 10. Setting a budget
You can either set a daily budget, or a lifetime budget. If you set a daily budget, once your daily budget is reached for that day, your ad will stop running, and will start again the next day. You can also set a lifetime budget and your ad will continuously run until your budget runs out or your duration has come to an end. Setting a daily budget will prolong the life of your ad over a lifetime budget.


Step 11. How to bid – Clicks or Impressions
Clicks – I like to bid for clicks, which means I only pay Facebook for my ad when someone clicks on it.
Impressions – You can also bid for impressions, which you pay per 1000 views of your ad, also known as CPM (cost per 1,000). I don’t prefer to bid this way as 1,000 people could “see” my add, but never click on it.

 Step 12.
You’re done. Hit Place Order and pat yourself on the back for getting through this whole tutorial.
Tweet This!
“I just read how to create facebook ads to by website via @socially_Gold” —
Create tweets just like this on your website with Click to Tweet
Step 13. Measuring the success of your Facebook Ad.
Once you place your order, it will need to be approved. Sometimes it can take up to 24 hours, but I have found that it happens sooner and you’ll get a notification alerting you once your ad approved. Once your ad starts running you can check your progress by going back into the Ads Manager and clicking on your ad.
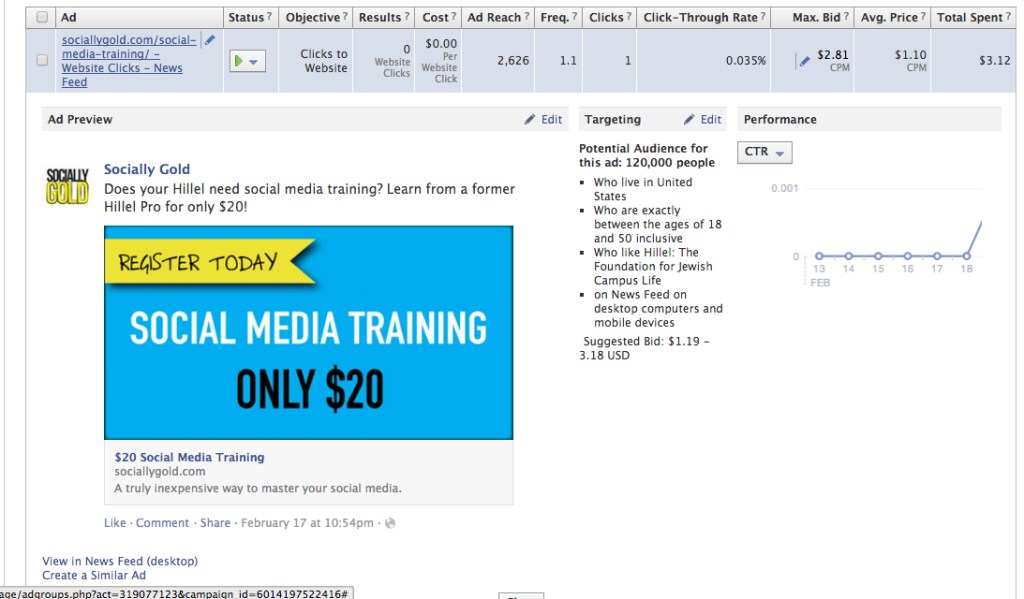
This ad is targeted differently from the ad I created above, but you can see my progress. If you targeting an ad to your own website, you can create a conversion pixel (HTML code), which will tell you how many people clicked your ad and ended up on your website. This is helpful to know how many people landed on your site on their own vs. because of your ad. If you would like me to cover more about conversion pixels, let me know in the comments.
If you are targeting someone else’s website, a website where you can’t add extra HTML, you may want to determine another way to measure whether or not your ad is successful. You can’t determine an ads success just by the number of clicks and impressions. Your advertising on Facebook because you want your audience to do something. You need to figure out how many people did what you wanted them to do to see if running the ad was worth while.
If you have any questions about how to create a Facebook ad or items I didn’t cover, leave them in the comments.
