
How To Create Custom Twitter Timelines with Tweetdeck
Have you ever wanted to group tweets together about a certain topic or event for your website or blog? Tweetdeck, a project of Twitter, allows you to do just that. In this post, I’ll show you how to create custom timelines with Tweetdeck. These custom timelines can be embedded on your website, viewed on twitter.com or Tweetdeck will generate a tweet for you with a link to the timeline.
Step 1: Navigate to Tweetdeck.com
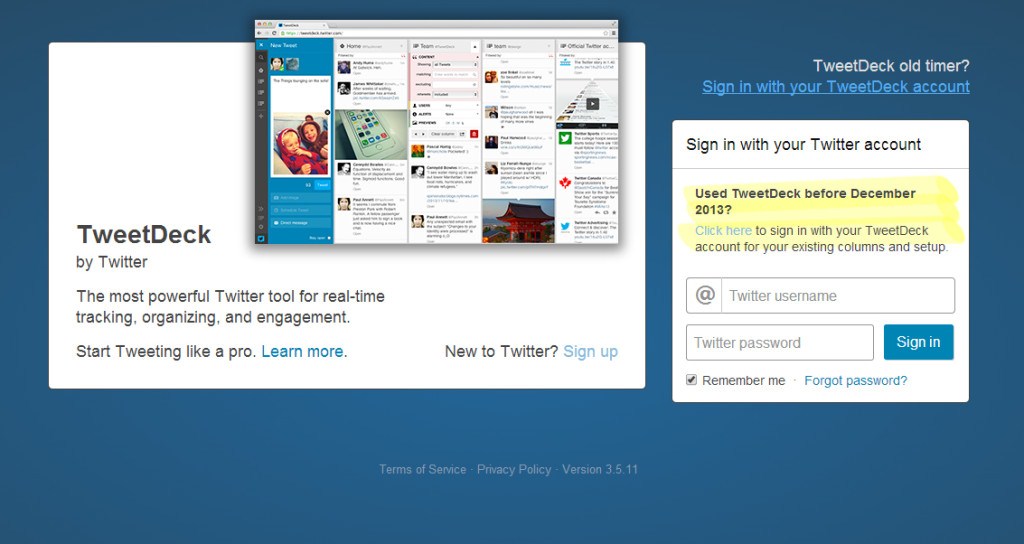
Step 2: Connect Your Twitter Account using your Twitter credentials
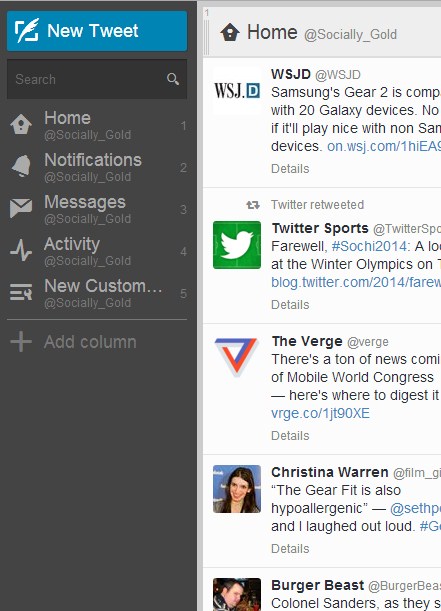
Step 3: Click the “Add Column” Button
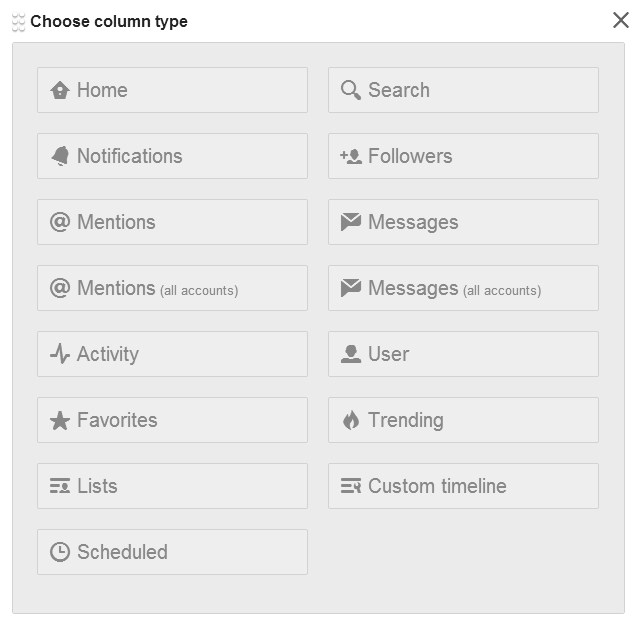
Step 4: Click “Custom Timeline”
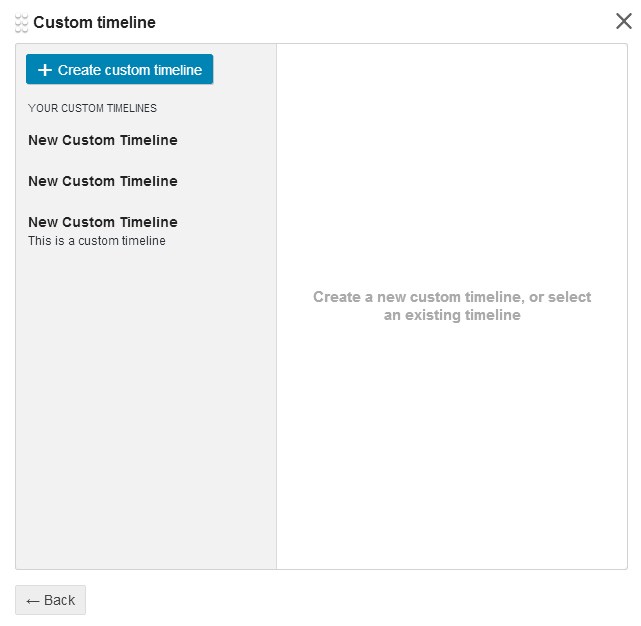
Step 5: Click “+ Create custom timeline”
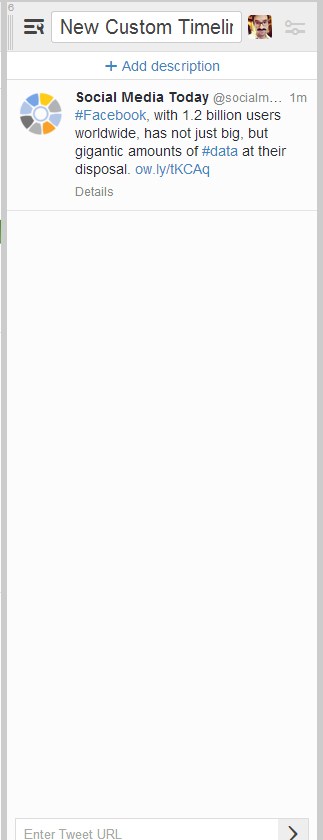
Step 6: Determine what content you’d like to add to your timelines. Drag and drop the individual tweet by clicking and holding the right most icon and dragging it to the new column you just created.

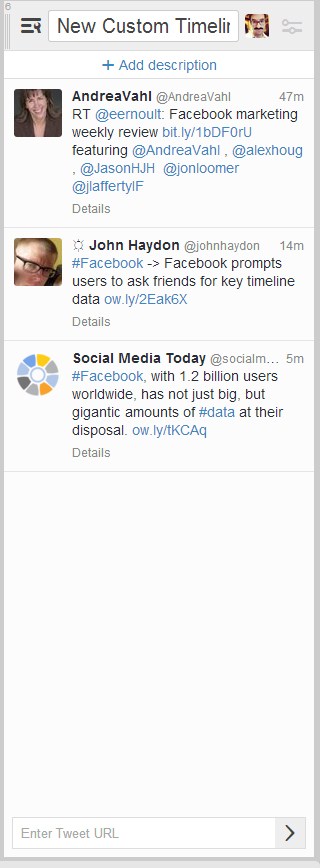
Step 7: Continue to add more tweets to your custom timelines.
Step 8: Click the image next to your profile photo and a drop down menu will appear.
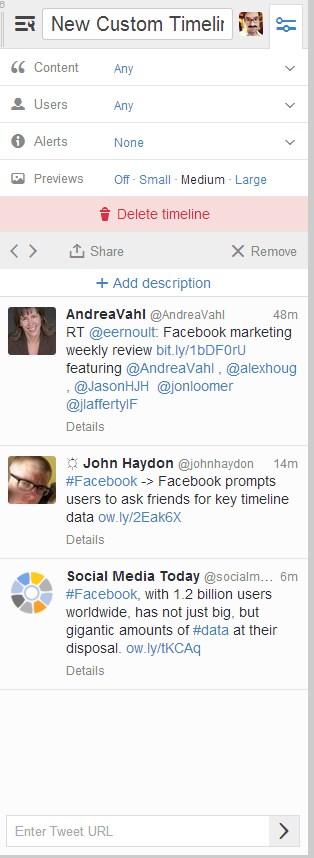
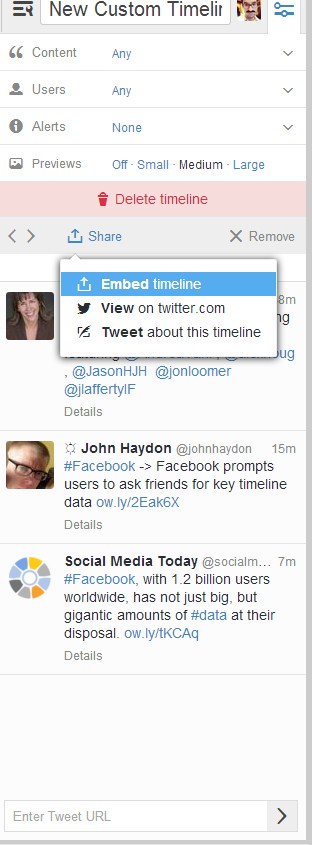
Step 9: click the “Share” button at the bottom of the drop down. You can choose to embed your timeline, link to it, or tweet about it.
Embedding a custom Twitter timeline
Step 10: Click the Embed button. You’ll get linked to the Twitter website, where you’ll need to login.
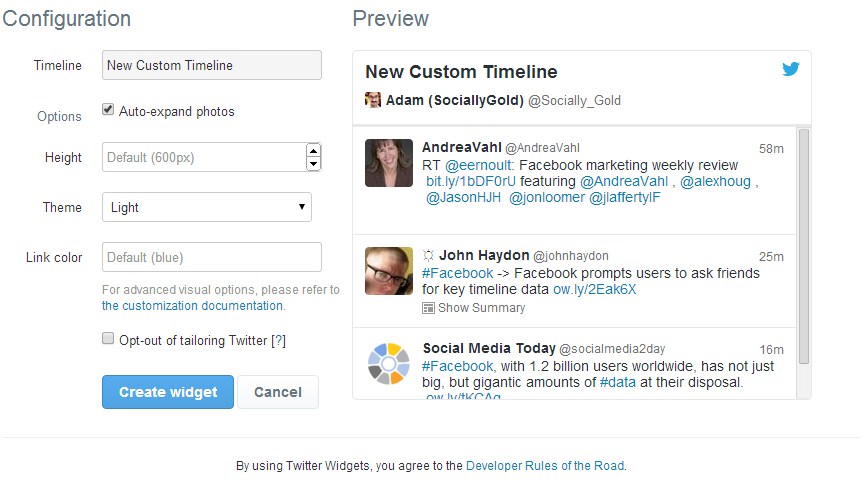
Step 11: Click the “Create Widget” button. Then, copy the HTML code provided and paste that in your website where you want the custom timeline to appear. Scroll down to see what an embedded timeline looks like. T
Step 12: Pat yourself on the back for a job well done!